Balloon Distortion Technique Part 3 - How to Make a Face
 |
| Easter Rabbit by Sue Bowler CBA |
To conclude this 3-part blog, I want to show you how to create a simple 'face shape' that should help you to start creating your own amazing faces!
Step 1.
1 x 16" White
3 x 11" White

Step 2
Using a straw or chopstick, insert the three x 11" balloons inside the 16" balloon making sure that they sit side by side with the necks all positioned at the opening of the 16".


Step 3
Establish which balloon is positioned in the centre and partially inflate to create the top part of the head. Check that you have the two other balloons sitting on either side as the picture below.

Step 4
Knot the inflated balloon, you can remove the excess neck after the knot if you prefer.


Step 5
Now carefully inflate one of the 'cheeks', it does not matter which one is inflated first. The balloon will curve a little, see picture below.

Step 6
This is a little tricky, you now need to inflate the second cheek, but without knotting the first one, as you will probably want to adjust them both by adding or removing air until you have got the 'perfect' shape and size!
Tip
Twist the neck of the balloon that you have just inflated and grip it between your fingers whilst you inflate the second cheek, as already mentioned, it is a little tricky but with practice, it will become easier.
Tip
Twist the neck of the balloon that you have just inflated and grip it between your fingers whilst you inflate the second cheek, as already mentioned, it is a little tricky but with practice, it will become easier.

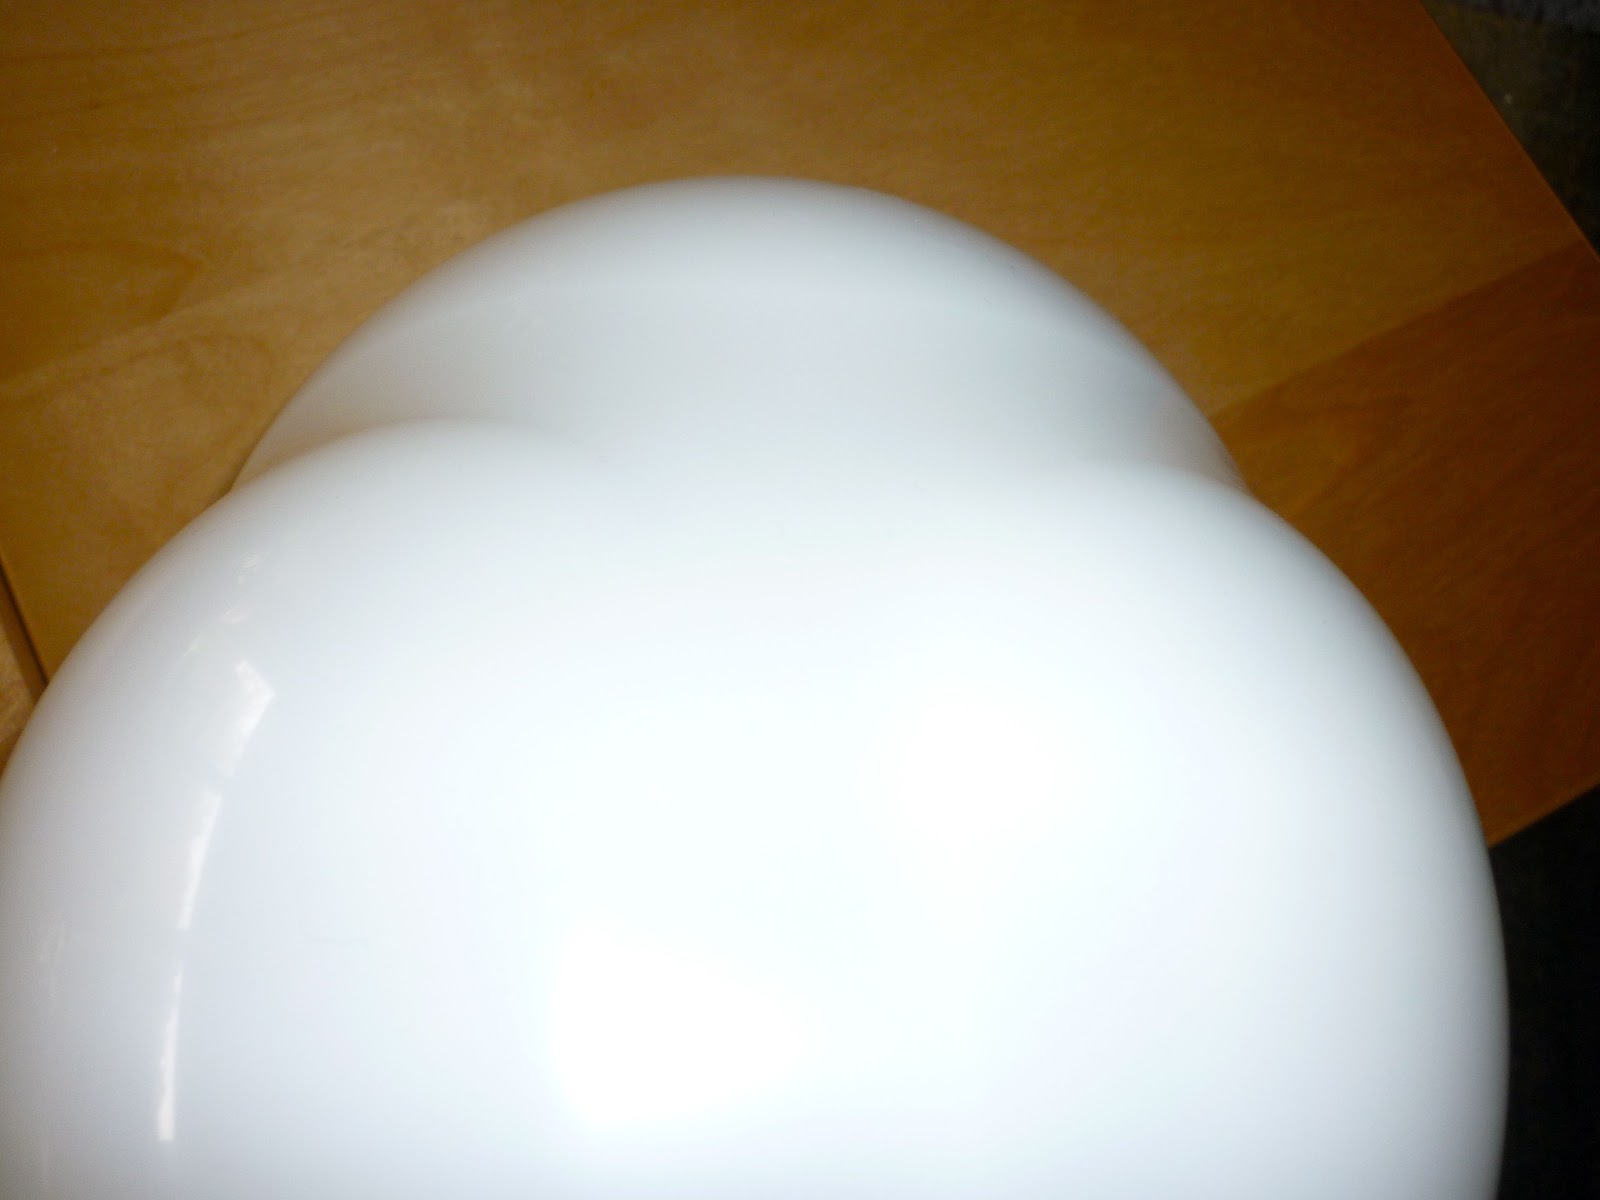
 |
| This picture shows the shape that you are trying to make with the 3 x 11" balloons. |
Step 7
You can now tie the necks of the 'cheek' balloons together, this means that the 16" balloon is still 'open' and you can add a little extra air if you want to make the face a little bigger, but you will lose some of the shapes definition.

Step 8
To complete the design you can draw a face. I have used this same face shape for a rabbit and for 'Casper' the ghost.

 |
| This is an image of 'Casper' that I used to copy the face |
Now it's your turn to try out distortion, whether you create a face using the Nikoloon Tool as in Distortion Technique Part 2, or by putting balloons inside balloons, try it and see what you can create! Remember, practice makes perfect!
A huge thank you to all the designers who's pictures and designs I have shared with you to write this blog!
Happy Ballooning!
Sue


Comments